

Owning a trailer can be a rewarding experience, providing the freedom to transport your belongings or enjoy outdoor adventures. However, with frequent use, minor damage is often inevitable. From scratches and dents to small cracks, understanding how to repair your trailer can save you significant costs and keep your equipment in top condition. This guide focuses on repairing minor trailer damage through DIY methods, empowering you to take matters into your own hands.
Many trailer owners may feel intimidated by the thought of fixing damage themselves. However, with the right tools and techniques, minor repairs can be straightforward and manageable. By learning about specific repair methods and materials, you can restore your trailer’s appearance and functionality while avoiding costly trips to a professional. This article will walk you through the essential steps of repairing common issues, enabling you to confidently tackle any minor damage that may arise.
From assessing the extent of damage to selecting appropriate repair materials, this guide will provide practical insights for any trailer owner. Whether you have experience in DIY projects or are a newcomer to hands-on repairs, you will find valuable information on how to efficiently and effectively handle minor trailer repairs, ensuring your trailer remains a reliable companion on all your journeys.
Assessing the Damage: How to Identify What Needs Repair
When you notice minor damage on your trailer, the first step in your DIY journey is to accurately assess the extent of the damage. Start by conducting a thorough visual inspection. Look for any noticeable dents, scratches, or any broken components. Pay particular attention to the exterior, including the body panels, hitch, and any attached accessories.
Next, check the structural integrity of the trailer. This includes examining the frame and undercarriage for rust, cracks, or signs of bending. A compromised frame can lead to further issues down the line, making it crucial to identify these problems upfront.
Assess the wheels and tires as well. Look for uneven wear, punctures, or any signs of damage. Faulty tires can pose significant safety risks, so it’s essential to ensure they are in good condition before using the trailer again.
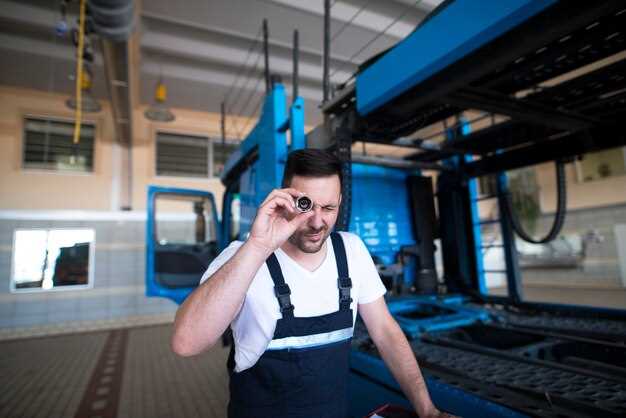
Don’t forget to inspect the lights and wiring as well. Verify that all lights are functioning correctly, including brake lights and turn signals. Any broken or malfunctioning electrical components should be addressed promptly to ensure compliance with safety regulations.
Finally, make a list of all the areas that need repair. This will help you organize your DIY efforts and ensure nothing is overlooked. By systematically assessing the damage, you can prioritize repairs that are most critical, leading to a safer and more reliable trailer.
Step-by-Step Process for Repairing Trailer Body Dents

To fix minor dents on your trailer, begin by gathering the necessary tools and materials. You will need a heat source, such as a hairdryer, a bucket of cold water, a towel, and a rubber mallet. If necessary, also acquire a dent puller kit for more stubborn dents.
Start the repair process by cleaning the area around the dent. Use a mild detergent and water to remove dirt and debris. Once clean, dry the surface thoroughly to ensure optimal results.
Next, apply heat to the dented area using the hairdryer. Move the hairdryer back and forth to avoid overheating a single spot. The goal is to warm the metal, making it more malleable and easier to repair.
After heating the dent for about 30 seconds, take the rubber mallet and gently tap the dent from behind, if accessible. If the dent is too deep or difficult to reach, consider using the dent puller according to the manufacturer’s instructions.
For larger dents, after pulling, you may notice some metal distortion. To fix this, use the hairdryer method again, followed by gentle tapping with the mallet to smooth the surface. Always be cautious to avoid causing further damage during this step.
Once the dent is sufficiently smoothed out, pour cold water over the area to harden the metal. This quick cooling process helps to finalize the repair.
Finally, clean the area again to remove any remnants from the process. If needed, touch up the paint with a matching color to conceal any scratches incurred during the repair. Your DIY dent repair should leave your trailer looking much better.
Maintaining Trailer Integrity: Tips for Preventative Measures
Proper maintenance is essential for ensuring the longevity and safety of your trailer. Regular inspections and simple DIY tasks can help prevent minor damages from turning into significant repair issues.
First, check the trailer’s frame and chassis for signs of rust or structural weakness. A thorough inspection every few months can help identify any early signs of damage. Use a wire brush and rust-inhibiting paint for any rust spots you find.
Next, pay attention to the hitch and coupling mechanisms. These components are critical for safe towing. Lubricate moving parts regularly and ensure everything is tight to prevent wear and misalignment.
Maintaining the tires is equally important. Regularly check tire pressure and tread depth. Rotate your tires periodically to ensure even wear. If you notice any irregularities, consider a DIY tire replacement or visit a professional.
Additionally, inspect the brakes and lights on your trailer regularly. Ensure that brake fluid is at the appropriate level and that all lights are functioning correctly. This not only enhances safety but prevents fines during inspections.
Lastly, store your trailer properly. Using a tarp or cover can protect it from the elements, helping to prevent water damage and UV deterioration. Even simple measures can significantly improve the lifespan of your trailer.
By following these preventative measures, you can maintain your trailer’s integrity and minimize the need for extensive repairs in the future. A little attention and care go a long way in ensuring your trailer remains in top condition.


