

In today’s world, the importance of safety while towing cannot be overstated. A backup camera is a valuable mod that significantly enhances your visibility when maneuvering your trailer. By installing a backup camera, you can eliminate blind spots and ensure a safer driving experience.
With a variety of camera options available, choosing the right one for your needs is crucial. The installation process, while straightforward, requires attention to detail to ensure proper functionality. This guide will walk you through each step to seamlessly integrate a backup camera into your trailer, ensuring you maximize both convenience and safety.
By the end of this article, you’ll have a comprehensive understanding of how to install a backup camera, enhancing your trailer’s safety features and making your towing experience smoother than ever. Let’s dive into the practical steps involved in this essential installation process.
Choosing the Right Backup Camera for Your Trailer
When it comes to selecting a backup camera for your trailer, it’s important to consider various factors that enhance safety and ease of maneuverability. First, assess the mod compatibility with your trailer model. Ensure the camera fits seamlessly with your specific trailer configuration to avoid installation issues.
Next, focus on the camera resolution. A higher resolution provides clearer images, which is crucial for detecting obstacles and ensuring safe reversing. Look for cameras with at least 720p quality for optimal performance.
Consider the field of view as well. A wide-angle lens allows for better visibility of the area behind your trailer, minimizing blind spots. Many models offer a range between 120 to 180 degrees; choose one that balances coverage with the ability to avoid distortion.
Another essential feature is the night vision capability. If you often find yourself reversing in low-light conditions, a camera with infrared or LED night vision ensures continued functionality.
Wireless backup cameras can simplify installation, eliminating the need for extensive wiring. However, ensure that the wireless range is sufficient to cover the distance between the trailer and the viewing monitor.
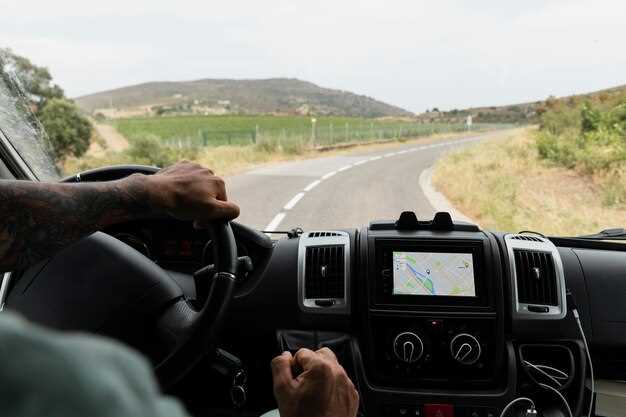
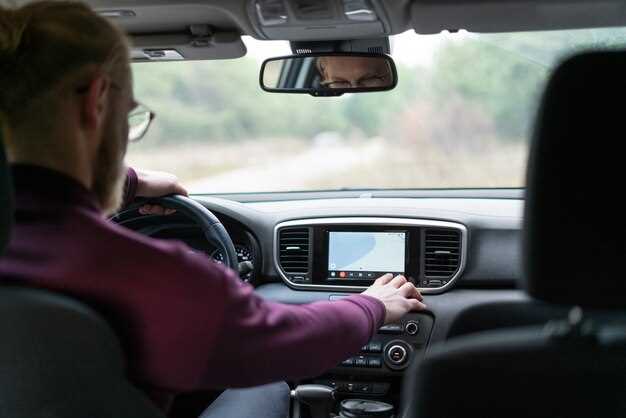
Lastly, evaluate the viewing monitor options. Some cameras come with a dedicated screen, while others can connect to your smartphone or existing GPS system. Choose a display that is easily visible and conveniently positioned for safe operation.
By carefully considering these factors, you can select the right backup camera for your trailer that enhances your safety and driving experience.
Step-by-Step Installation Process for a Backup Camera
Installing a backup camera on your trailer can dramatically enhance safety while maneuvering in tight spaces. Follow this step-by-step guide to ensure a successful installation.
Step 1: Choose the Right Camera
Select a backup camera that fits your trailer’s specifications and provides a clear view. Consider factors such as resolution, field of view, and night vision capabilities.
Step 2: Gather Tools and Materials
Prepare the necessary tools: a power drill, screwdriver, wire cutters, and electrical tape. Ensure you have all components from the backup camera kit, including the camera, monitor, and wiring harness.
Step 3: Position the Camera
Determine the best location for the camera on the rear of the trailer. The camera should be mounted securely and provide a wide view of the area behind the trailer. Mark the mounting holes with a pencil for drilling.
Step 4: Drill Mounting Holes
Carefully drill holes for the camera mount at the marked spots. Ensure the holes align with the camera’s mounting bracket for a secure fit.
Step 5: Install the Camera
Attach the camera to the mounting bracket and secure it using screws. Ensure the camera is angled for optimal visibility when reversing.
Step 6: Run the Wiring
Route the camera’s wiring harness through the trailer to the front, where the monitor will be located. Avoid areas that could expose the wires to heat or moisture.
Step 7: Connect to Power
Locate the trailer’s power supply. Connect the camera’s power leads to the appropriate wires, ensuring a secure and insulated connection to prevent short circuits.
Step 8: Install the Monitor
Mount the monitor securely in the cab of the towing vehicle. Ensure it is easily visible without obstructing your view while driving. Connect the monitor to the power source and the camera using the provided cables.
Step 9: Test the System
Before finalizing the installation, test the backup camera system. Check for a clear image on the monitor and ensure that the camera activates when the vehicle is in reverse.
Step 10: Final Adjustments
Make any necessary adjustments to the camera angle or monitor position to enhance visibility. Secure all wires and ensure they do not interfere with any moving parts of the trailer.
With these steps completed, your trailer is now equipped with a backup camera, significantly improving safety while reversing and maneuvering.
Testing and Troubleshooting Your Newly Installed Backup Camera
After installing your backup camera, it’s essential to ensure it functions correctly. Begin by powering on your vehicle and selecting the reverse gear. Check that the camera activates and displays an image on your screen. If the image is clear and shows the intended view, you’ve successfully completed your installation. However, if you encounter issues, additional steps are necessary.
One common problem is a lack of power to the camera. Double-check the wiring connections, ensuring that the power and ground wires are securely attached. If the camera uses a fuse, inspect it and replace it if blown. If there is still no power, consider testing the voltage at the camera connection to confirm that power is reaching the unit.
Image quality is another crucial factor. If the backup camera shows a distorted or blurry image, inspect the lens for dirt or obstruction. Clean the lens gently with a soft cloth to enhance visibility. If the problem persists, ensure that the camera is correctly angled. Adjust the mounting position to achieve the best line of sight.
Additionally, check for any interference in the video signal. If the camera uses a wireless mod, ensure that there are no obstructions between the camera and display unit. Wireless signals can be affected by metal objects or electronic devices. If interference continues, consider relocating the receiver closer to the camera or using a wired connection if possible.
Finally, if all troubleshooting steps fail, consult the user manual for specific guidance related to your backup camera model. Many manufacturers provide troubleshooting tips tailored to typical issues. By following these suggestions, you can ensure your backup camera operates effectively, providing safety during your towing activities.


