

Creating a custom storage solution for your trailer can greatly enhance your work efficiency and organization. A well-designed tool box not only maximizes space but also protects your tools from the elements, ensuring they remain in top condition for years to come. Building a trailer tool storage compartment is a rewarding project that can be tailored to your specific needs and preferences.
Whether you’re a professional tradesperson or a DIY enthusiast, having a designated area for your tools will streamline your workflow. In this guide, we’ll walk you through the process of constructing a functional and durable tool storage box that fits seamlessly into your trailer. From selecting the right materials to final assembly, each step will be covered in detail to ensure your project is a success.
Let’s dive into the materials and tools you’ll need, as well as the construction techniques that will help you create the perfect custom tool storage solution for your trailer. With careful planning and execution, your new tool box will not only meet your storage needs but also add value to your trailer.
Choosing the Right Materials for Your Custom Tool Storage
When embarking on the journey to build a custom tool storage compartment for your trailer, selecting the appropriate materials is crucial. The right materials not only ensure durability but also enhance functionality and protection for your tools.
Start with the frame. Choose a robust material such as pressure-treated wood or metal. Pressure-treated wood is resistant to moisture and decay, making it ideal for outdoor use. On the other hand, metal provides superior strength and longevity, which may be beneficial if your tools are particularly heavy or you plan to transport them frequently.
The shelving and dividers are equally important. Use materials like plywood or heavy-duty plastic for easy cleaning and resistance to spills. Plywood can be customized to fit specific dimensions, allowing for tailored storage solutions. Heavy-duty plastic shelves, meanwhile, are lightweight and resistant to rust.
For tool organization, consider adding compartments or trays made from foam inserts or metal racks. Foam inserts help cushion tools and keep them secure, preventing damage during transport. Metal racks are ideal for smaller tools, providing easy access and visibility.
Finally, don’t overlook the importance of weatherproofing your storage unit. Utilizing marine-grade paint or sealants can protect against moisture and rust, extending the life of your custom storage solution. Combining these materials will help you create a practical, efficient, and durable tool storage compartment tailored to your needs.
Step-by-Step Instructions for Constructing the Tool Box
Building a tool box requires careful planning and execution. Begin by determining the dimensions of your box based on the tools you intend to store. Standard sizes may vary, but a good starting point is a length of 24 inches, a width of 12 inches, and a height of 12 inches.
Next, gather necessary materials. You will need plywood or hardwood, wood screws, wood glue, hinges, and a handle. Ensure that the wood is lightweight but durable to withstand regular usage.
Start by cutting the wood pieces to the required dimensions. You will need two pieces for the base, two sides, a front, a back, and a lid. Make precise cuts using a circular saw or a table saw for accuracy.
Once the pieces are cut, begin assembling the box. Attach the sides to the base using wood screws and glue for added strength. Ensure that the corners are square for a proper fit.
Attach the front and back panels next, securing them with screws. Make sure the joints are tight to prevent any gaps. This will create a sturdy framework for your tool box.
After the main structure is complete, move on to the lid. Attach the lid using hinges to one side of the box. This will allow easy access to the tools stored inside. Ensure the lid opens smoothly and latches securely for safety.
To finish, sand down any rough edges to avoid splinters. Consider painting or staining the tool box to protect the wood and enhance its appearance. Allow any finishes to dry completely before using the tool box.
Finally, attach a handle to the lid or one of the sides for convenient carrying. Your sturdy and functional tool box is now ready to be used for organizing and storing your tools efficiently.
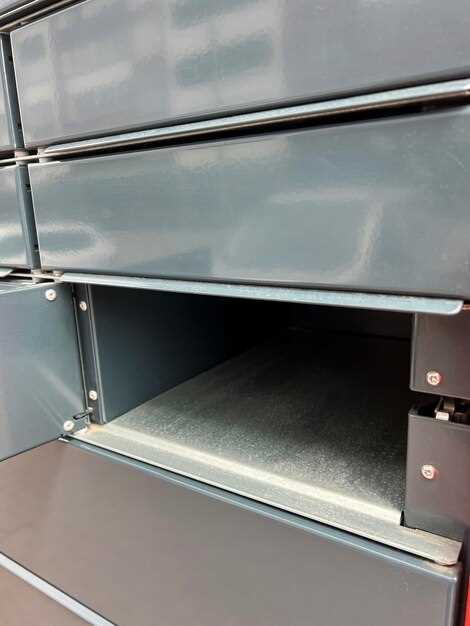
Optimizing Space and Organization Inside Your Trailer Compartment
Efficiently organizing tools within your trailer compartment can greatly enhance productivity and ease of access. To start, consider a custom build approach that maximizes vertical and horizontal space. Utilize wall-mounted pegboards or shelving units to keep frequently used tools visible and accessible while freeing up floor space.
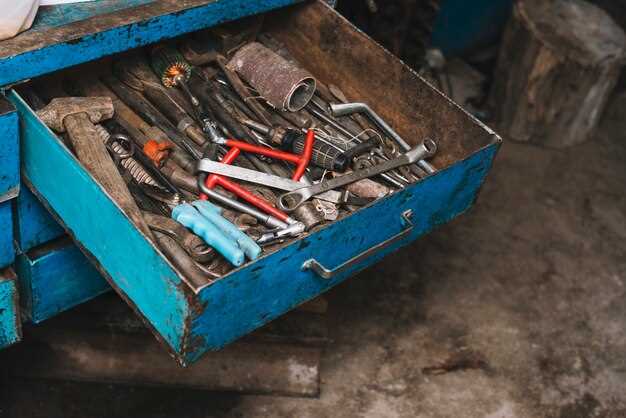
Incorporating modular storage solutions can be beneficial for adaptability. Design compartments that can be adjusted or rearranged based on your specific tool needs. Using stackable storage bins is an excellent way to organize smaller items, ensuring they are easy to identify and retrieve.
Labeling each storage area is essential for quick identification of tools. A simple labeling system can save valuable time and prevent frustration when searching for specific items. Additionally, consider using clear containers to provide visibility while maintaining organization.
Another effective technique is to group tools by type or function. For example, keep all power tools together and hand tools in another area. This method not only reduces clutter but also streamlines the tool retrieval process.
Finally, regularly assess your tool collection to identify any items that can be removed or replaced. A minimalist approach will not only optimize space but also keep your trailer compartment organized and efficient, allowing you to focus more on your projects and less on searching for tools.


